ZotDefend Compliance
ZotDefend Compliance Instructions for End-Users (School of Physical Sciences ONLY)
ZotDefend Apple Instructions
This page contains instructions to install software to ensure an Apple computer is UCI ZotDefend compliant. School of Physical Sciences ONLY
1. Install Jamf Client (Instructions below)
https://tools.ps.uci.edu/downloads/download/enrollmentProfile.mobileconfig
After you log in with your UCInetID and password, it will automatically download a file.
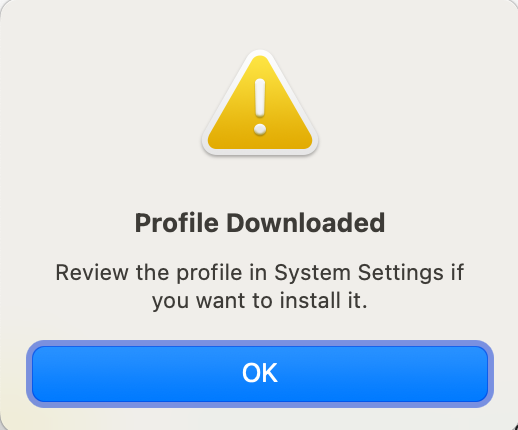
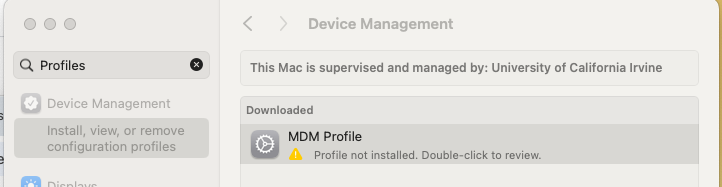
2. Double click on the profile and enroll the computer. Wait 5-10 minutes for Jamf to install the required software. You will need to leave your computer on and connected to the internet for this step.
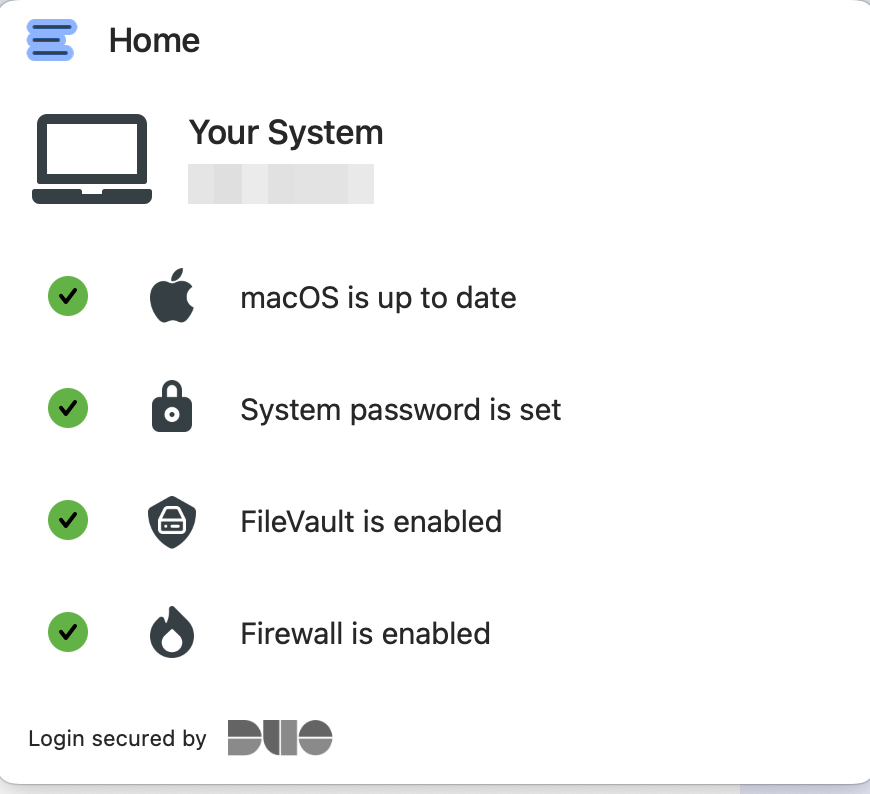
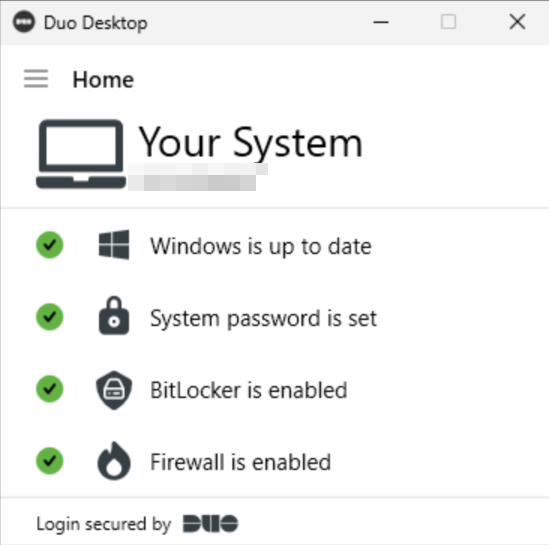
3. Check for the Duo Desktop icon in the notification area. Once you see it, click on it to open Duo Desktop.

4. Duo Desktop will check for compliance, and will show you green check-marks for each requirement. If you do not have encryption enabled yet, reboot and you should be prompted for a password to enable encryption.
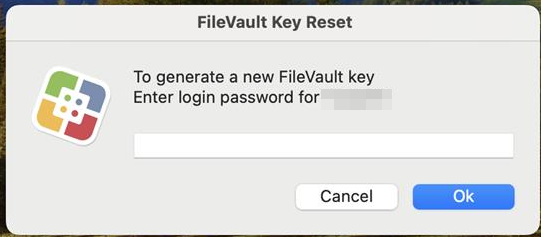
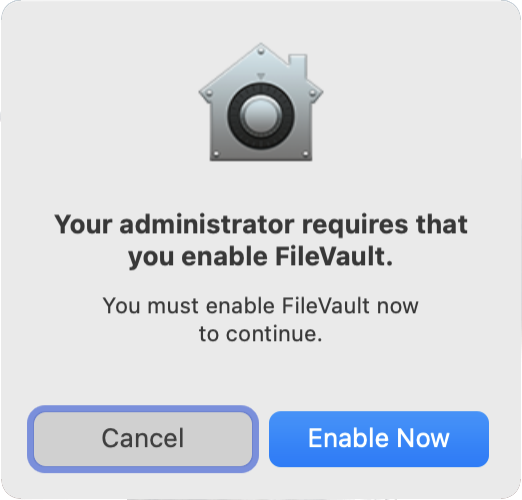
5. After a reboot if your device did not have all green checkmarks, you may see the following screens, please click "Enable Now" and enter your password if prompted. This will turn on encryption:
If FileValut Key Reset is having you generate a new FileVault key multiple times, go to Terminal -> type in "jamf recon"
ZotDefend Windows Instructions
This page contains instructions to install software to ensure a Windows computer is UCI ZotDefend compliant. School of Physical Sciences ONLY
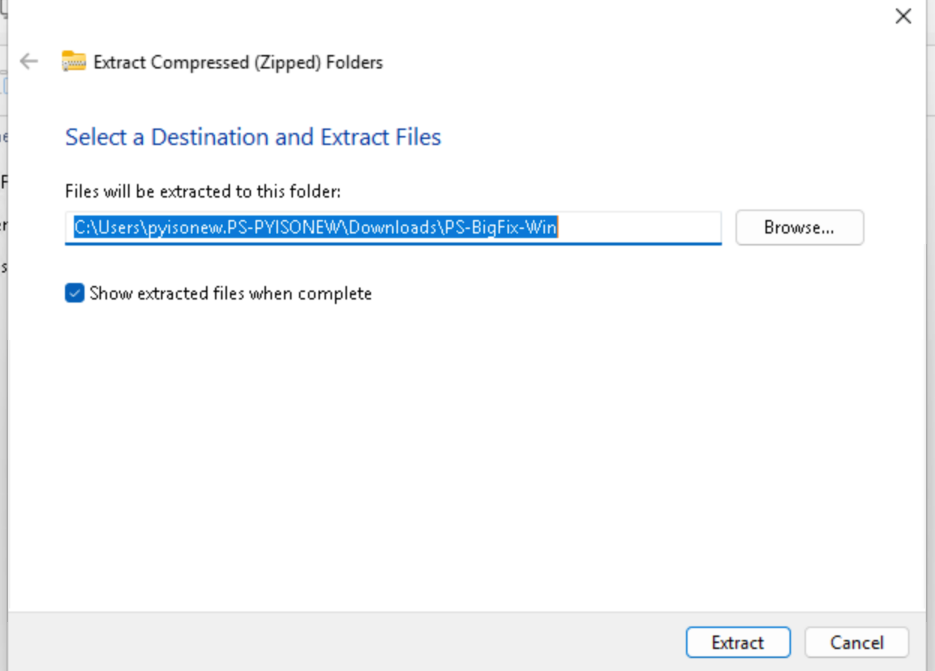
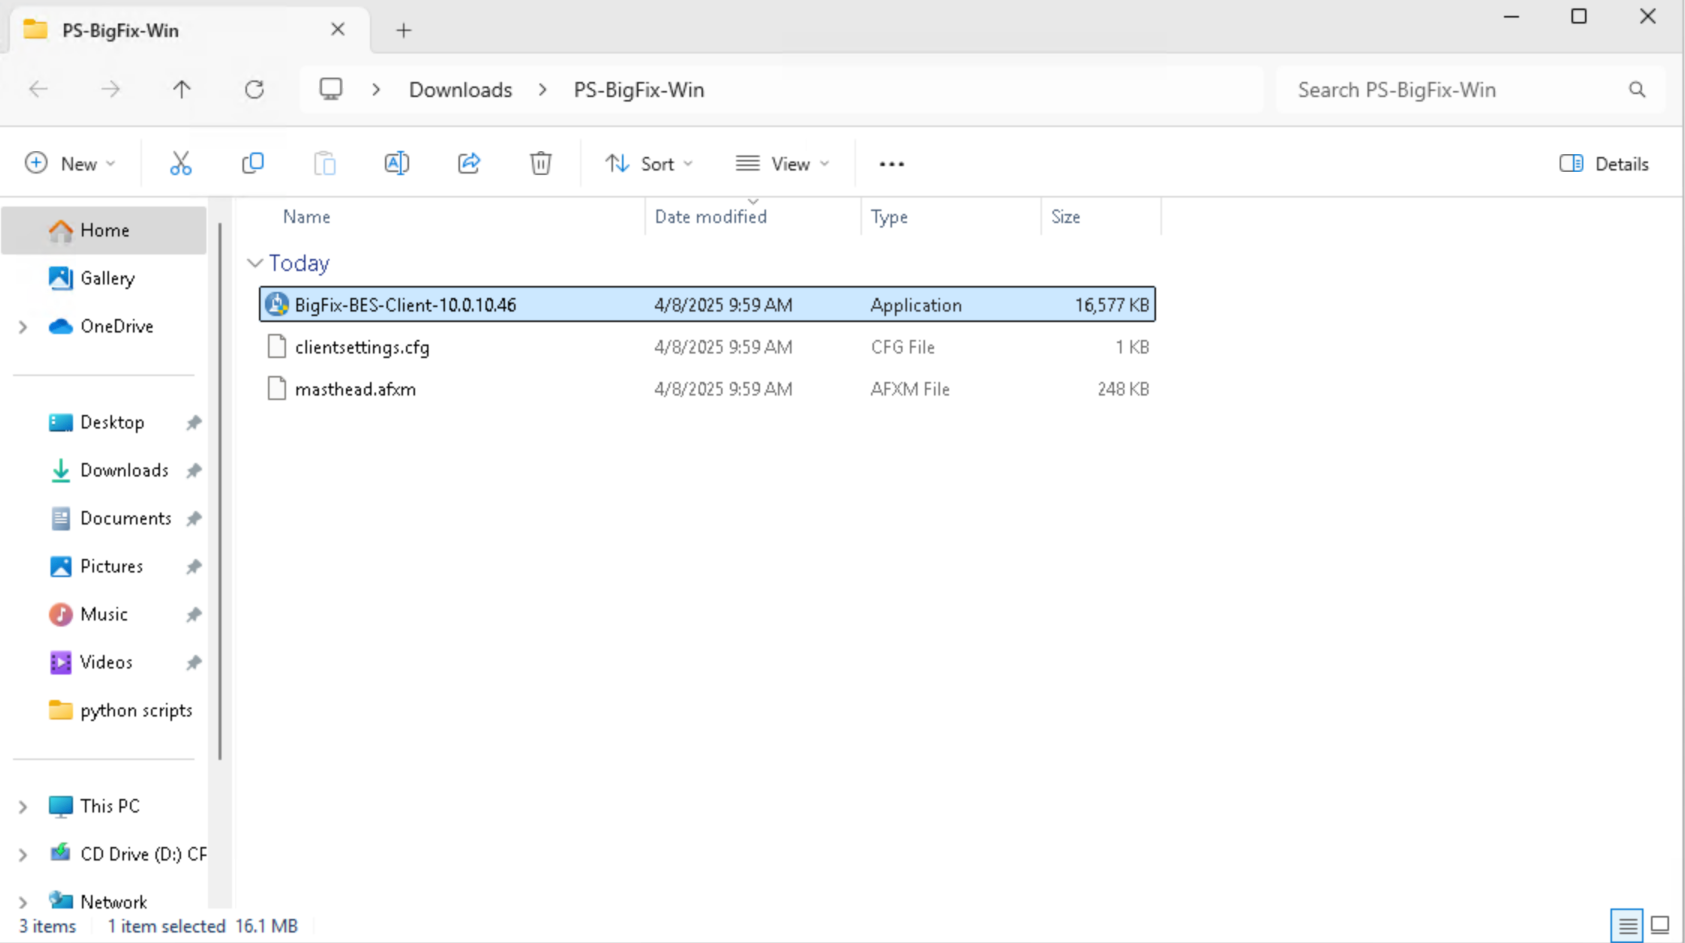
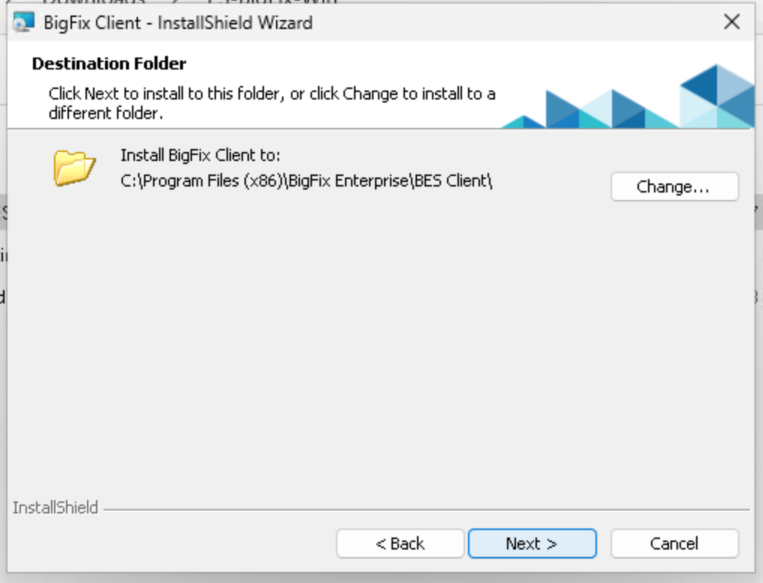
1. Install BigFix (Instructions below)
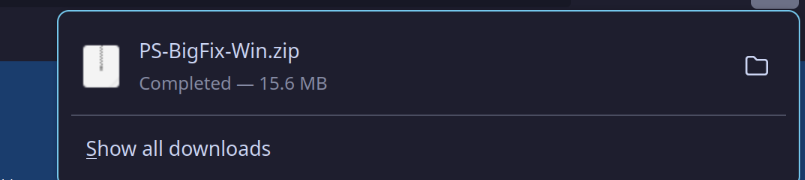
https://tools.ps.uci.edu/downloads/download/PS-BigFix-Win.zip
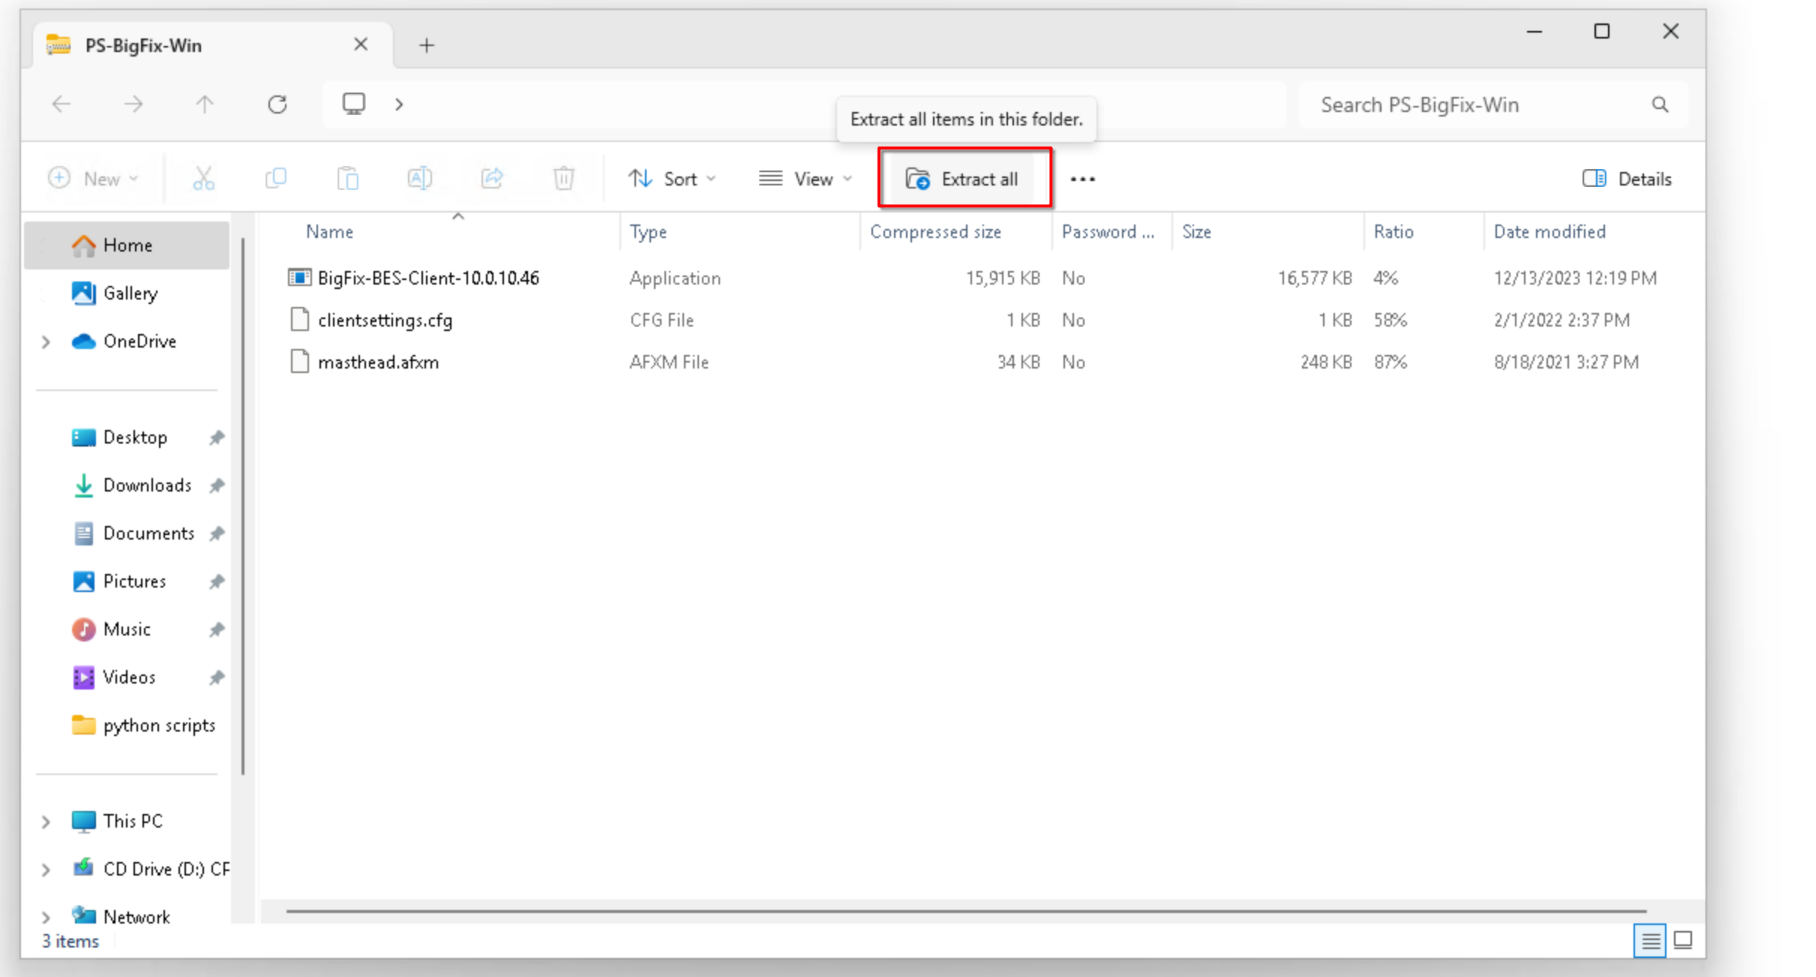
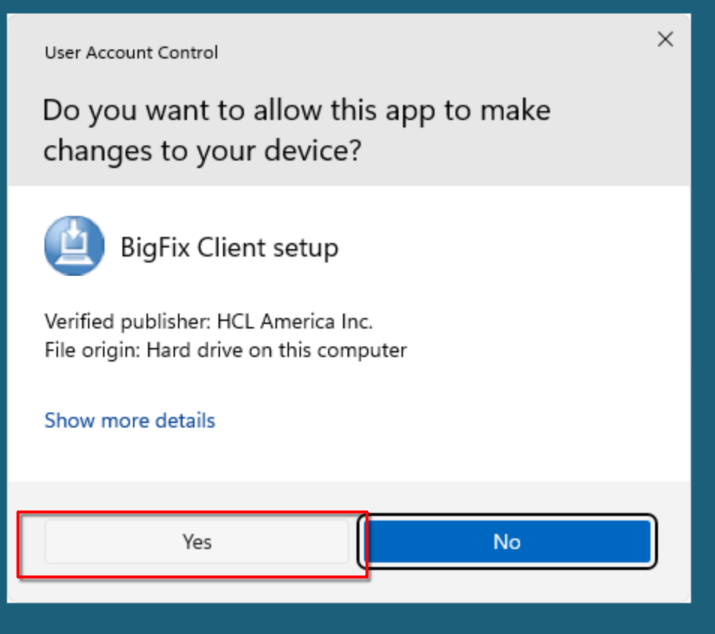
2. Wait 5-10 minutes for BigFix to install the required software. You will need to leave your computer on and connected to the internet for this step.
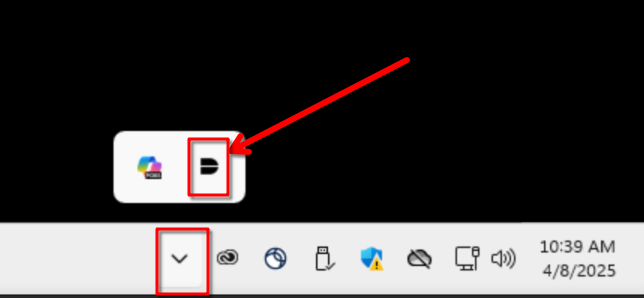
3. Check for the Duo Desktop icon in the task tray area. Once you see it, click on it to open Duo Desktop.
4. Duo Desktop will check for compliance, and will show you green check-marks for each requirement.
6. If you do not see a green check box for encryption, click on the message in Duo Desktop to go to Bitlocker Settings, and turn it on. Choose "Let BitLocker automatically unlock my drive"

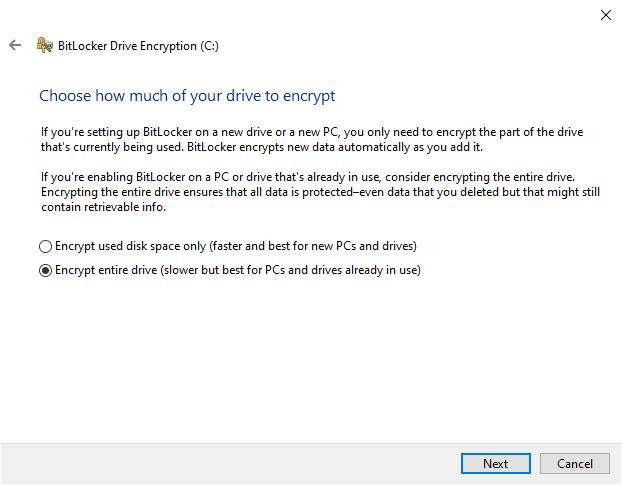
NOTE: If you need to manually encrypt with BitLocker, choose "Save to AD account":

7. If any step is not green, click on it for for instructions to remediate it, and if you are unable to remediate it on your own, please send an email to pshelpdesk@uci.edu to open a help ticket.
ZotDefend Linux Instructions
ZotDefend Linux Installation (School of Physical Sciences ONLY)
Trellix Installation Instructions
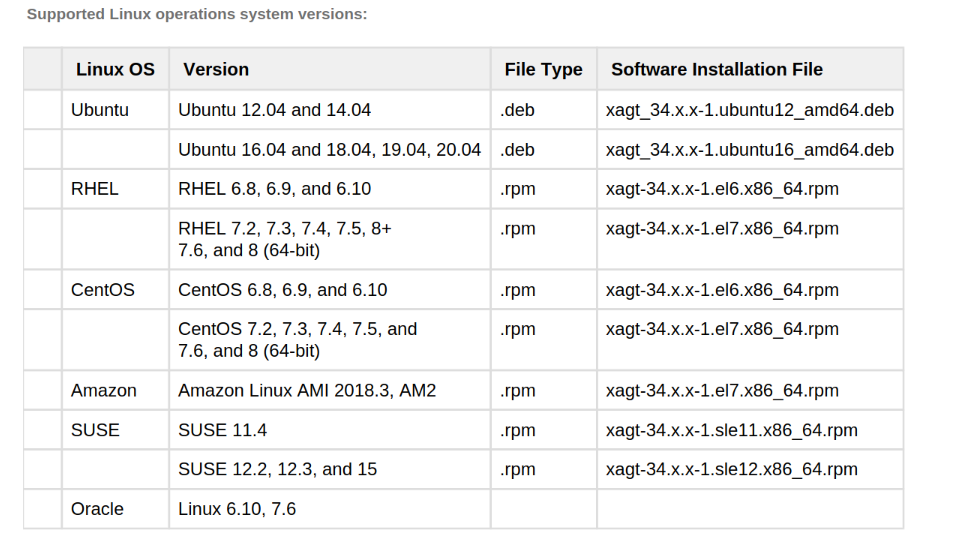
The .tgz package (Linux) includes the following files:
HX Client Software (tgz bundle)
- Agent .rpm files.
- Agent .deb files.
- Agent .run file ( xagtSetup_xx.x.x.run ).
- Agent configuration file ( agent_config.json ). It is critical that you import the configuration file following install to insure that the agent
properly communicates with the server.

Example: Installing on Ubuntu OS using .deb file
Open a Terminal session on the Linux endpoint that has the agent installation .tgz package.
username@localhost:~/Desktop/FireEyeInstallDirectory$
Use the ls command to verify that the IMAGE_HX_AGENT_LINUX_33.46.0.tgz file has been exists in the install directory.
Use the tar zxf command to unzip and extract the files from the Linux agent
Use the dpkg , medium-level package manager for Debian and the -i option to run the .deb script and install the agent software on your Linux
endpoint. You must have sudo access.
username@localhost:~/Desktop/FireEye$ sudo dpkg -i xagt- .ubuntu12_amd64.deb33.46.0
After the .deb installation script is complete, use the i option to import the agent configuration file from the /opt/fireeye/bin/xagt binary path:
username@localhost:~/Desktop/FireEyeInstallDirectory$ sudo /opt/fireeye/bin/xagt -i agent_config.json
Start the agent services on your Linux endpoint using the following command:
username@localhost:~/Desktop/ FireEyeInstallDirectory$ sudo systemctl enable --now xagt
Nessus Tenable Agent Installation Instructions
- Make sure outbound traffic from port 443 to nessus.oit.uci.edu is allowed through your firewall.
- Install the Tenable agent with your package manager from the link above.
- Contact pscsg@uci.edu to get the tenable key.
- Run as root or with sudo: /opt/nessus_agent/sbin/nessuscli agent link --host=nessus.oit.uci.edu --port=443 --key=KEY_PROVIDED_BY_PSCSG
Duo Desktop Downloads:
- Linux .deb Package (Debian Based eg Ubuntu) https://desktop.pkg.duosecurity.com/duo-desktop-latest.amd64.deb
- Linux .rpm Package (RHEL based) https://desktop.pkg.duosecurity.com/duo-desktop-latest.x86_64.rpm
Duo Desktop Agent Installation Instructions
- Download the appropriate package for your distribution from the above link.
- Install the package.
- Enable the service. Eg on systemd distributions, run
sudo systemctl enable --now duo-desktop - Check to make sure the duo-desktop service is running. Eg. on systemd distributions, run
sudo systemctl status duo-desktop - If you get SELinux erros relating to .NET services, it's most likely Duo Desktop. Create an exception via:
ausearch -c '.NET TP Worker' --raw | audit2allow -M my-NETTPWorker
semodule -X 300 -i my-NETTPWorker.pp